
How-To
Fabric Glue for Patches: How to Glue On a Patch
By the Nation Patches team · Updated · 6 min read
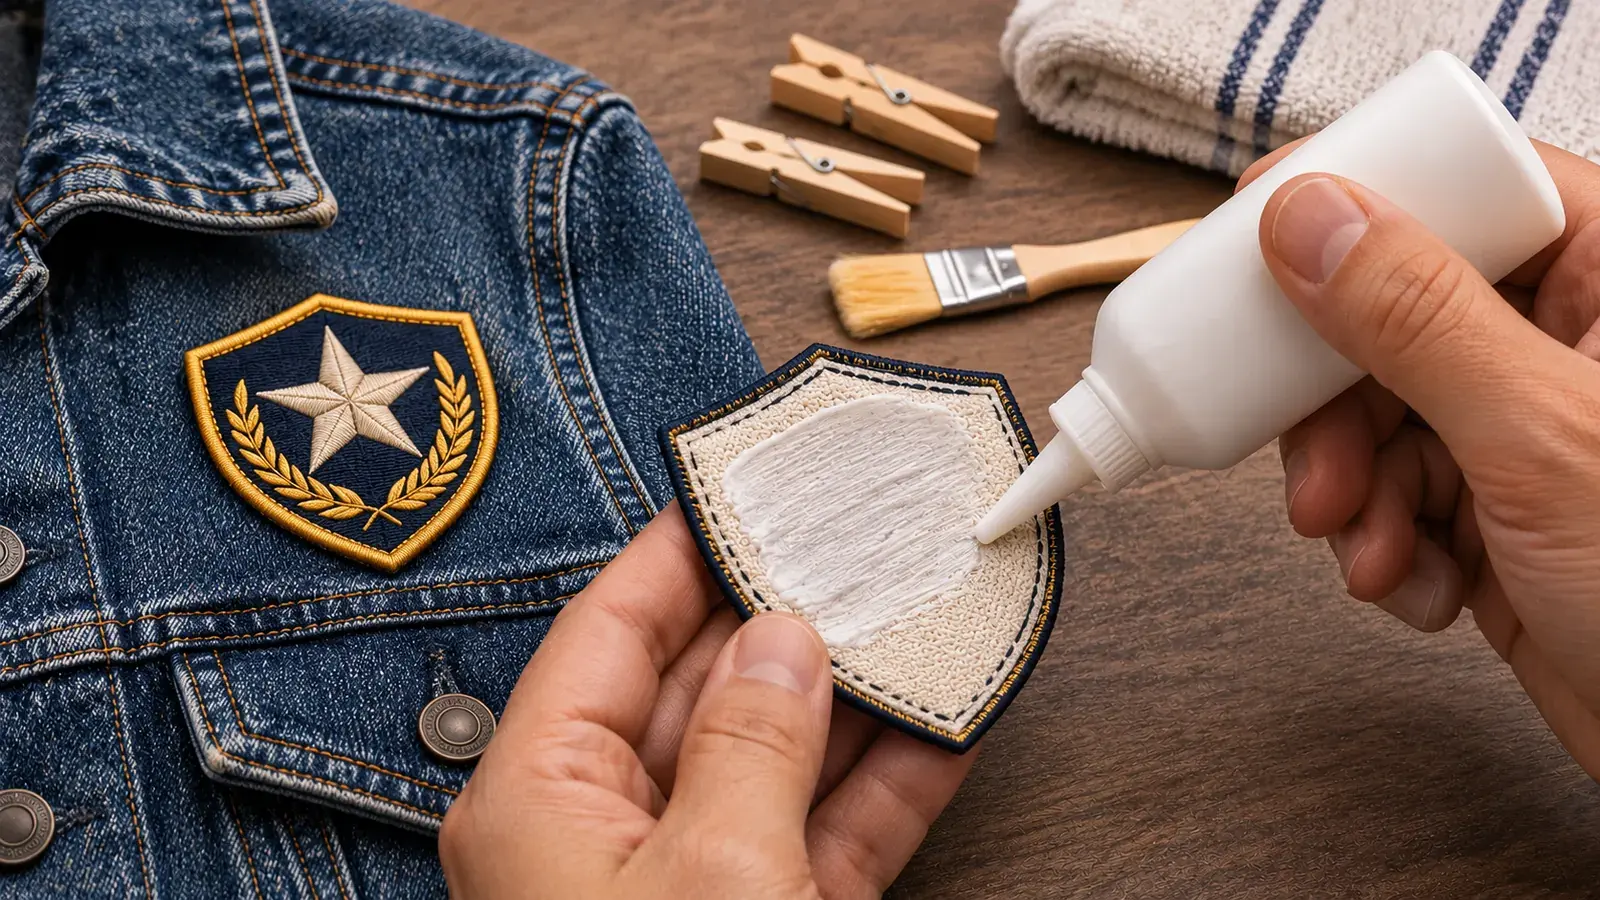
The right fabric glue for patches is a flexible, permanent fabric adhesive that dries clear and says "washable" on the label. Spread a thin layer on the back of the patch and press it onto clean fabric. Then clamp it and let it cure for at least 24 hours before wearing or washing.
Glue is quick and needs no sewing skills or iron. However, it isn't the right choice for every garment or every patch. This guide explains which glue types work, how to apply them, and when another method is the better call.
Which Fabric Glue for Patches Works Best?
Not every glue bonds to cloth. Some stay flexible after drying, while others turn hard and crack the first time the fabric bends. Here's how the common glue types compare. We describe types here, not brands, because formulas change and labels matter more than names.
| Glue type | Flexibility | Washable? | Good for |
|---|---|---|---|
| Water-based fabric glue | Soft and flexible | Often, after full cure (check label) | Light cotton items, crafts, kids' clothes |
| Permanent fabric adhesive (solvent or urethane-based) | Flexible, tougher bond | Usually, after full cure | Jackets, denim, canvas bags |
| Fusible adhesive web (heat-activated) | Flexible | Yes, like iron-on backing | Adding iron-on backing to any patch |
| Spray adhesive | Flexible | No | Holding a patch in place before sewing |
| Hot glue | Stiff | No; softens in the dryer | Display boards and costumes only |
| Super glue (cyanoacrylate) | Hard and brittle | No | Not recommended on fabric |
For clothes, look at three things on the label. First, it should say it's made for fabric. Next, it should dry flexible and clear. Finally, it should say it's washable or permanent after curing.
How to Apply Fabric Glue for Patches
Good prep matters more than the glue itself. Because glue grips the surface fibers, dirt or fabric softener can weaken the bond.
- 01
Wash and dry the garment
Wash it once without fabric softener. Then make sure the spot is completely dry.
- 02
Mark the position
Place the patch and trace lightly around it with chalk. This keeps you from guessing once the glue is wet.
- 03
Protect the inside
Slide wax paper or cardboard inside the garment. That stops glue from soaking through to the back layer.
- 04
Spread a thin, even layer
Cover the back of the patch, going almost to the edge. Leave about 1/16 inch bare so glue doesn't squeeze out.
- 05
Press and clamp
Set the patch on your mark and press firmly for 30 seconds. Then place a heavy book on top, or clip the edges.
- 06
Wipe any squeeze-out
Clean up excess glue right away with a damp cloth, before it sets.
Clothes Glue for Patches: Tips by Patch Type
The patch itself also changes how well glue holds. Here's what to expect with the most common types.
- Embroidered patches: the twill back is porous, so glue grips well. Dense stitching makes the patch stiff, though, so clamp it flat while it cures.
- Woven patches: they're thin, so glue can seep through to the front. Use a very light layer and keep it away from the edges.
- Chenille patches: the felt base soaks up glue quickly. Apply a little more, then press gently so you don't crush the loops.
- PVC patches: the smooth rubber back gives glue little to grip. Sewing through the stitch channel or using hook-and-loop works far better.
- Leather patches: use an adhesive labeled for leather and fabric. Regular craft glue tends to peel off the smooth hide.
If a patch already has a shiny heat-seal backing, glue may not stick to it well. In that case, ironing it on is usually the easier route.
Curing Time: How Long Before You Can Wear It?
Most fabric glues feel dry to the touch within an hour. However, "dry" isn't the same as "cured." The bond keeps getting stronger as the glue fully sets.
- Handle gently: after about 1–2 hours, once the surface is dry.
- Wear it: after 24 hours for most fabric glues.
- Wash it: only after the full cure time on the label, often 48 to 72 hours.
Cold, damp rooms slow curing down. So if your space is chilly, give it an extra day before washing.
Is Patch Glue Washable?
Many fabric glues are washable once fully cured. Still, a glued patch takes more care than a sewn one. Heat and agitation are the main threats.
- Turn the garment inside out.
- Wash on a gentle cycle in cold water.
- Skip bleach and strong stain removers on the patch area.
- Hang to dry, since high dryer heat can soften some adhesives.
Check the edges after each wash. If one starts to lift, add a dab of glue underneath and clamp it again. For a stronger fix, add a few stitches at the corners.
Using Glue to Fix a Peeling Iron-On Patch
Iron-on patch glue can wear out over time, especially after hot washes. First, try re-pressing the patch with a dry iron and a press cloth. Our guide on how to iron on a patch covers the right heat for each fabric.
If re-pressing fails, the old adhesive is likely spent. In that case, peel the patch off and use either fabric glue or a fresh sheet of fusible adhesive web. The web gives you a new iron-on backing, so it's often the cleaner fix.
When Glue for Cloth Patches Is a Bad Idea
Glue works best on stable, woven fabrics like cotton, denim and canvas. On the other hand, it struggles in these situations.
- Stretchy fabrics: knits, leggings and athletic wear flex more than the glue can.
- Waterproof or coated gear: the coating keeps glue from gripping the fibers.
- Heavy patches: thick PVC or large back patches pull away under their own weight.
- Uniforms and workwear: frequent hot washing breaks down most adhesives.
- Items you might change later: cured glue is hard to remove without leaving residue.
For these cases, sewing is the safest option. Our step-by-step sewing guide walks you through it by hand or by machine. For gear like backpacks and tactical vests, a hook-and-loop panel is another good choice.
Patch Adhesive Alternatives: Iron-On and Peel-and-Stick Backing
If you plan to glue many patches, a built-in adhesive backing saves time. There are two main types, and each fits a different job.
Iron-on (heat-seal) backing
A layer of heat-activated adhesive is applied to the patch during production. You press it on with an iron or heat press, and it bonds into the fabric. As a result, it's more even and more washable than hand-applied glue. For merch, teams or uniforms, custom iron-on patches are the practical choice.
Peel-and-stick backing
A pressure-sensitive adhesive sits under a paper liner. You peel and press, with no heat or glue needed. However, it's meant for short-term use, such as events, trade shows or packaging, and it isn't made for washing.
Apparel brands often pick the backing based on how the item will be worn and washed. Our custom clothing patches come with sew-on, iron-on or adhesive options. To compare them, see our patch backing types guide, or send your design for a quote.
Frequently Asked Questions
What is the best glue for patches on clothes?
Choose a permanent, flexible fabric adhesive that dries clear and is labeled washable. Avoid hot glue and super glue, because both turn stiff and fail in the wash.
Is fabric glue better than iron-on backing?
Not usually. Factory iron-on backing spreads adhesive evenly and handles washing better. Fabric glue is useful when a patch has no backing or the fabric can't take heat.
Can I use fabric glue on a leather jacket?
Regular fabric glue often doesn't grip leather well. Use an adhesive labeled for leather, test it on a hidden spot first, or have the patch sewn on.
How do you remove a glued patch?
Some water-based glues soften with warm water or a hair dryer on low. Permanent adhesives are much harder to remove and may leave a mark, so place the patch carefully.