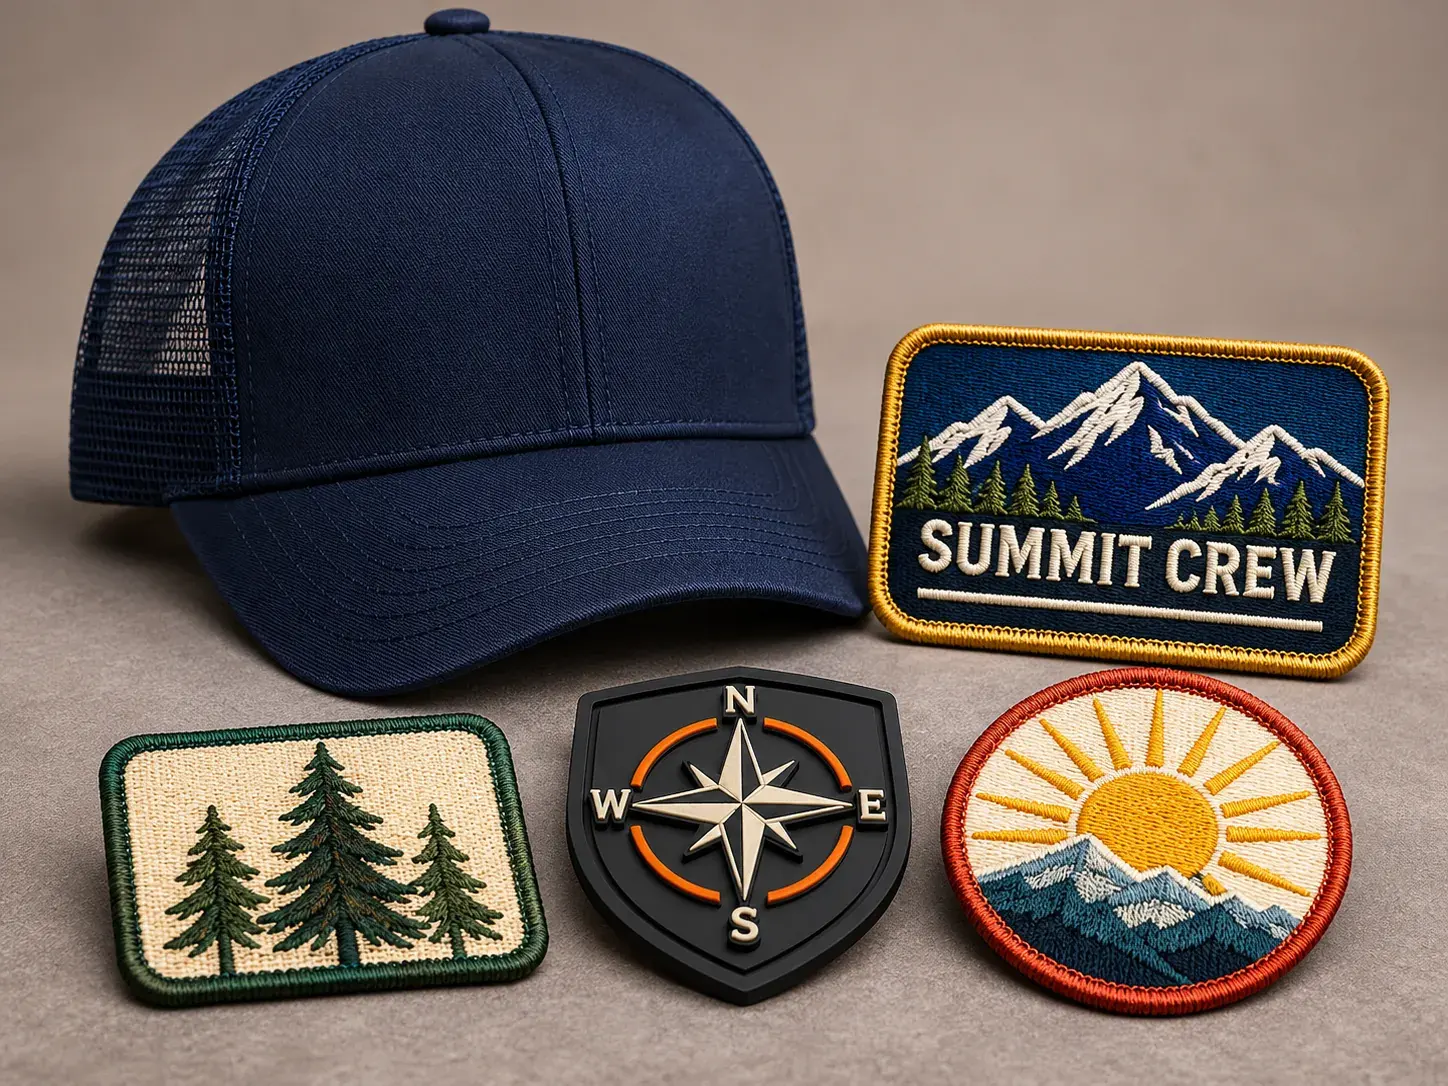
Guides
Patch Size and Shape Guide: Choosing Patch Shapes and Sizes
By the Nation Patches team · Updated · 6 min read
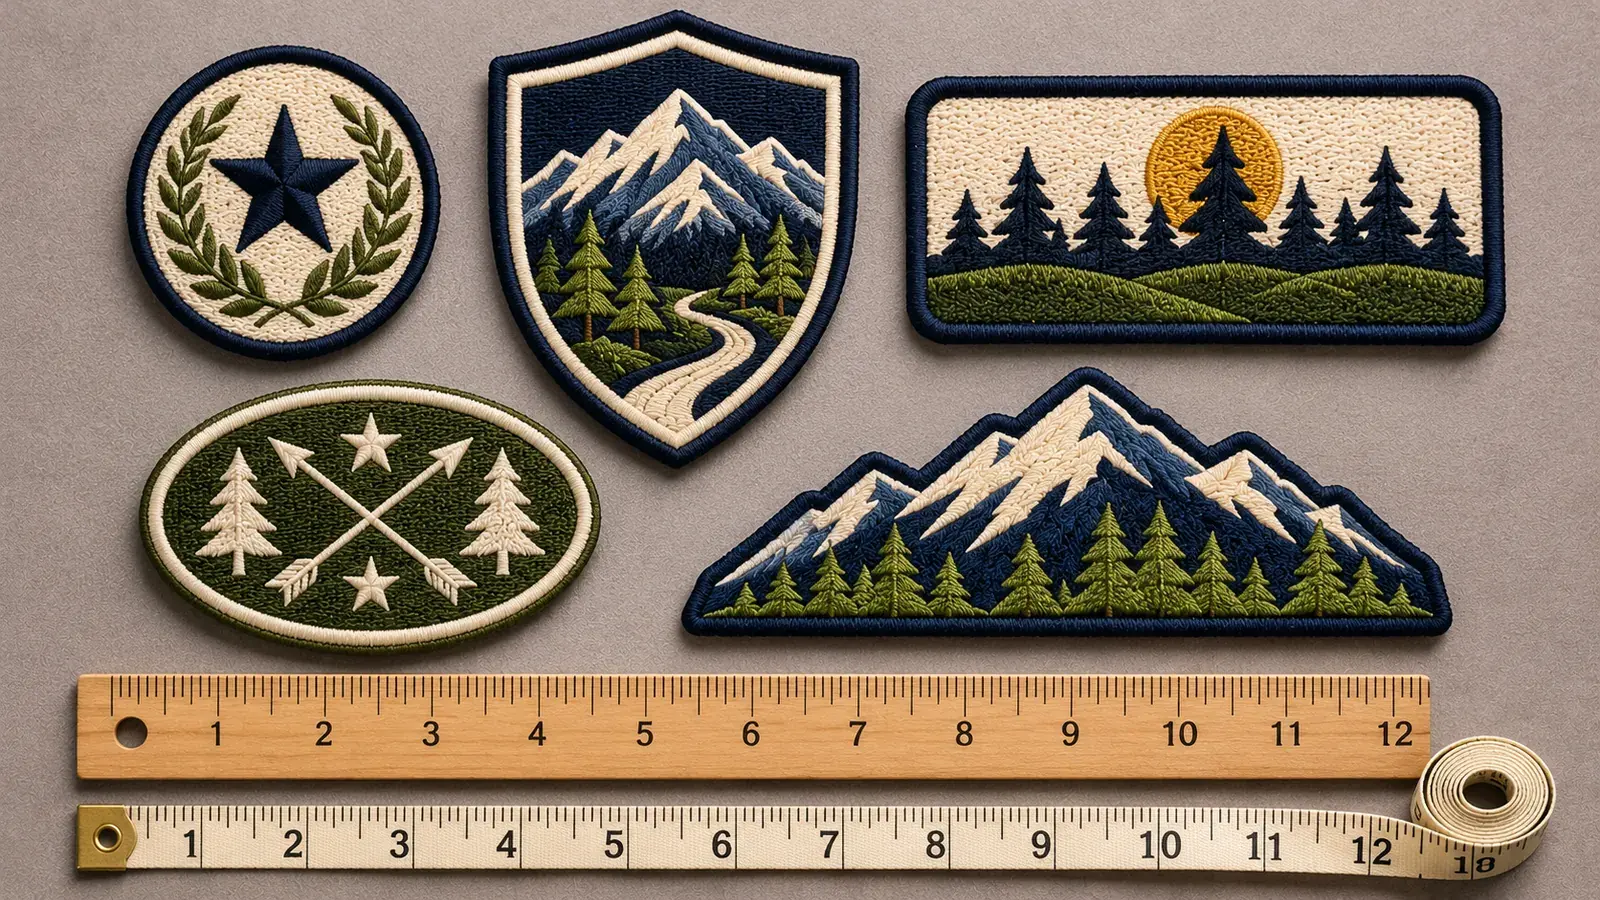
Patch shapes and sizes decide how readable your design is and how well it sits on a hat, chest or jacket. As a rule, hat patches run about 2 to 3.5 inches wide. Chest and shoulder patches are usually 3 to 4 inches, and back patches 8 inches or more. Shape matters just as much. Standard shapes are simple and clean, while custom shapes follow the outline of your artwork.
This guide covers common patch sizes by placement, how makers measure them and how size limits detail. In addition, it explains when a custom shape is worth it.
Common Patch Shapes and When to Use Them
Most patches fall into a few standard patch shapes. Each one suits different designs and placements, so start here before you sketch.
Circle
Great for emblems, seals and round logos. Circles look balanced on chests, sleeves and hat fronts.
Rectangle or square
Best for wordmarks, flags and name tapes. Wide rectangles also fit low-profile caps well.
Shield
The classic badge shape for departments, crests and teams. It gives a strong, official look.
Oval
Works for script logos and vintage workwear styles. It's also friendly to curved hat crowns.
Rocker or arc
A curved tab that sits above or below a center patch. Clubs and units often use rockers for names.
Custom die-cut
The patch outline follows your artwork, such as a mascot, a state outline or a mountain range.
Standard Patch Shapes vs Custom Shapes
Standard patch shapes can use a merrowed border. That's the thick, rounded overlock edge you see on classic patches. It wraps cleanly around simple curves and straight sides.
Custom shapes usually need a heat-cut or laser-cut border instead. A satin edge is stitched first, and then the patch is cut along that line. This lets the outline follow sharp corners and tight curves.
Tips for a clean custom patch outline
- Avoid thin spikes and narrow points, because they can bend or fray.
- Round off very tight inside corners where possible.
- Keep the outline simple, even if the artwork inside is detailed.
- Leave a small margin of background around the design, so the border doesn't crowd it.
How Patch Size Is Measured
Patch size sounds simple, but makers measure it in different ways. The two most common methods are below. That's why you should always share the exact width and height.
- Average of width and height. Add the two sides and divide by two. For example, a 4 x 2 inch patch counts as a 3 inch patch.
- Longest side. The patch is named by its largest dimension. Under this method, that same 4 x 2 inch patch is a 4 inch patch.
Common Patch Sizes by Placement
The ranges below are typical, not strict rules. Your garment, design and personal taste all play a part. Next, use the table to narrow your choice before you test a printout.
| Placement | Typical size range | Notes |
|---|---|---|
| Hat front (cap or trucker) | 2 to 3.5 in wide, 1.5 to 2.5 in tall | Measure the front panel first |
| Left chest | 3 to 4 in | Common for logos and emblems |
| Name tape | About 1 in tall, 4 to 5 in wide | Matches standard uniform pockets |
| Shoulder or sleeve | 3 to 4 in wide, up to about 4.5 in tall | Shields and circles are popular |
| Backpack or bag | 2 to 4 in | Larger if the bag has a big flat panel |
| Jacket or vest back | 8 to 12 in or more | Often paired with rockers |
Large back pieces have their own layout rules. See our custom back patches page if you're planning a jacket or vest design.
Hat Patch Size and Hat Patch Shapes
Hats are the trickiest placement, because the front panel is curved and limited. A patch that's too tall runs into the seam or the brim. Meanwhile, a patch that's too wide wraps around the crown and looks bent.
- Measure the flat-ish front area of your actual hat with a cloth tape.
- Leave about a quarter inch of space from the brim and the top seam.
- Pick wide shapes, such as rectangles, ovals or rounded badges, for low-profile caps.
- Choose taller shapes only for high-crown or structured trucker hats.
Trucker hat dimensions vary by brand and style, so measure your own blanks before you order. Our custom hat patches page covers materials that suit caps, including embroidered, woven, PVC and leather.
Matching Patch Shapes to Patch Types
Not every patch type handles shapes the same way. The material and the cutting method set the limits. Here's what to expect from each style.
- Embroidered: Standard shapes can take a merrowed edge. Custom outlines use a heat-cut border, so avoid very thin points.
- Woven: Thin and flat, so custom outlines cut cleanly. Fine edges hold well, even on small patches.
- PVC: The mold sets the shape, so PVC handles complex outlines and even small cutouts inside the patch.
- Chenille: Best with large, simple shapes. Felt layers frame the design, and tiny details get lost in the loops.
- Leather: Usually cut as rectangles, ovals or circles for hats, although laser cutting allows custom outlines.
As a result, a detailed outline may push you toward PVC or woven. Meanwhile, a simple circle or shield works with almost any patch type.
How Patch Size Affects Detail and Text
Smaller patches hold less detail. That's true for every patch type, although some handle fine lines better than others. Text is usually the first thing to fail.
| Patch type | Smallest readable text | Fine line ability |
|---|---|---|
| Embroidered | About 0.25 in (6 mm) tall | Moderate |
| Woven | About 0.125 in (3 mm) tall | High |
| PVC | About 0.2 in (5 mm) tall | Moderate to high |
| Chenille | 1 in or larger for chenille letters | Low; add embroidered accents |
These numbers vary by font and by maker, so treat them as a guide. Also, bold sans-serif fonts stay readable at smaller sizes than thin script fonts. If your logo has tiny text, either enlarge the patch or switch to woven. Our embroidered patch options work best when text stays above that quarter-inch mark.
How to Pick the Right Patch Size
- 01
Print the design at actual size
Set your printer to 100% scale. Then cut the printout to the planned shape.
- 02
Tape it in place
Put the paper on the real hat, shirt or jacket. Check it in a mirror.
- 03
Step back
Look from about six feet away. If you can't read the main text, go bigger or simplify.
- 04
Share exact dimensions
Send width and height with your artwork. Our team will confirm both on your digital proof.
For more on layout, colors and text, read our guide to designing a custom patch. When you're ready, request a quote with your dimensions and ask our team about quantities and timing.
Frequently Asked Questions
What is the most common patch size?
Many patches fall between 3 and 4 inches, which suits chests, sleeves and bags. Hat patches tend to be smaller, while back patches are much larger. Always confirm the exact width and height for your placement.
What size patch fits a hat?
Most hat patches are about 2 to 3.5 inches wide and 1.5 to 2.5 inches tall. Low-profile caps need shorter patches, while structured trucker hats can take taller ones. Measure your hat's front panel first.
How are patches measured?
Some makers average the width and height, and others use the longest side. Because methods vary by maker, give both dimensions when you ask for a quote. That way, you compare the same size.
Can a patch be any shape?
Almost any shape works with a heat-cut or laser-cut border. However, very thin points and tiny cutouts can fray or bend. Our team can suggest a cleaner outline when we review your artwork.