How-To
How to Sew a Patch On by Hand or Machine
By the Nation Patches team · Updated · 6 min read
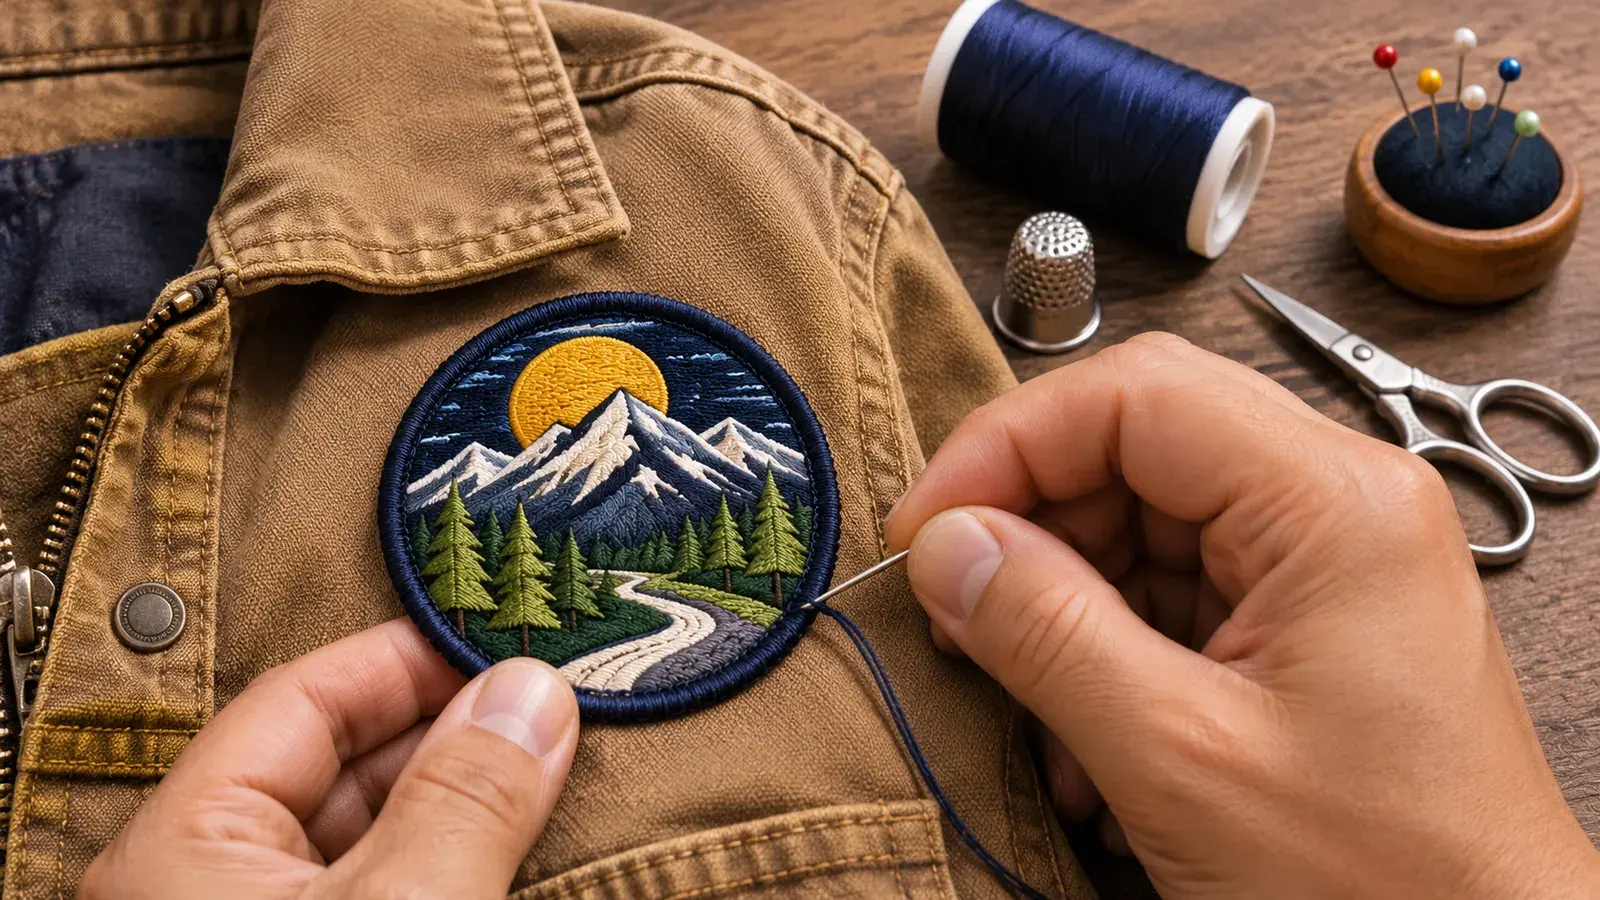
Learning how to sew a patch takes about 15 minutes and a few basic tools. Pin the patch in place, then stitch around the edge with a running stitch or whipstitch, keeping stitches small and even. With a sewing machine, use a straight stitch or narrow zigzag just inside the border.
Sewing is the most secure way to attach any patch. It works on fabrics that heat can damage, and it holds up to hard washing. Below, you'll find both methods step by step, plus the right thread and stitch choices for jackets, hats and backpacks.
What You Need to Sew On a Patch
Needle
A sharp hand needle for light fabrics. For denim, canvas or bags, choose a heavy-duty needle and use a thimble.
Thread
All-purpose polyester thread for most jobs. Pick a color that matches the patch border so stitches disappear.
Pins or clips
Straight pins or small clips hold the patch flat. Fabric glue stick also works as a temporary hold.
Scissors
Small, sharp scissors for trimming thread tails close to the knot.
A thimble is optional on thin cotton. However, it saves your fingertips on thick embroidered patches, which can have dense twill and 100% stitch coverage.
How to Sew a Patch On by Hand
Hand sewing gives you full control. It's also the best choice for curved surfaces like hats and for small patches where a machine can't reach.
- 01
Position and pin
Place the patch and check it from a few angles. Then pin it at the top, bottom and both sides.
- 02
Thread and knot
Cut about 18 inches of thread. Thread the needle, double the strand for strength, and tie a knot at the end.
- 03
Start from the inside
Push the needle up from inside the garment, coming out right at the edge of the patch. This hides the knot.
- 04
Stitch around the edge
Work around the patch with small, even stitches about 1/8 inch apart. Keep the thread snug but not tight enough to pucker.
- 05
Tie off inside
Finish with the needle inside the garment. Loop through the last stitch twice, knot it, and trim the tail.
Which Stitch Should You Use to Stitch On a Patch?
The right stitch depends on the patch border and how visible you want the thread to be. Here are the three stitches most people use.
Running stitch (straight stitch)
Sew in and out along a line just inside the border. It's quick, flat and nearly invisible on heat-cut edges. Also, it's the hand version of a machine straight stitch.
Whipstitch
Loop the thread over the edge of the patch and back through the fabric. This stitch wraps around a raised merrowed border and blends into it. As a result, it's the most common choice for classic embroidered patches.
Blind stitch
Catch only a thread or two of the patch edge, then travel under the garment fabric. The stitches hide almost completely. That's why it suits patches on dress jackets or blazers.
Sewing On a Patch With a Sewing Machine
A machine is faster and gives a very even finish. It works best on flat areas such as jacket chests, sleeves near the cuff, jeans and tote bags.
- Install a denim or heavy-duty needle (size 90/14 or 100/16) for thick patches.
- Match the top thread to the border and the bobbin thread to the garment.
- Set a straight stitch about 3 mm long, or a narrow zigzag about 2 mm wide.
- Start at a corner or the bottom center, about 1/16 inch inside the border.
- Sew slowly. At curves and corners, stop with the needle down, lift the foot and pivot.
- Overlap the first few stitches, then backstitch to lock the thread.
Sleeves and pant legs are tight spaces. If your machine has a removable extension table, take it off and slide the sleeve over the narrow arm. Otherwise, open the seam a few inches or switch to hand sewing.
Choosing Thread and Needles
| Thread | Best for | Why |
|---|---|---|
| All-purpose polyester | Most clothing | Strong, slight stretch, resists shrinking and fading |
| Heavy-duty polyester or bonded nylon | Backpacks, canvas, workwear | Handles thick layers and abrasion |
| Cotton | Vintage cotton garments | Matches natural fibers but is weaker and can shrink |
| Clear monofilament | Patches with many border colors | Nearly invisible, though it can feel stiff |
Match the thread color to the patch border, not the garment. For example, a black merrowed border with black thread looks clean on a red jacket. In addition, polyester thread matches the polyester or rayon thread most embroidered patches use.
Tips for Jackets, Hats and Backpacks
Jackets
Denim and canvas jackets are the easiest to sew. On lined jackets, open the lining at a seam or keep stitches through the outer layer only. Leather jackets need a leather needle, and every hole is permanent, so plan your layout first.
Hats
Most cap fronts have stiff buckram behind them. Push the needle straight through with a thimble, and pull it out with small pliers if needed. Keep stitches clear of the sweatband so the hat still fits.
Backpacks
Before you sew a patch on a backpack, check inside the panel. Otherwise, you may stitch a pocket shut or pierce the padding. Use heavy-duty thread and a thimble. Our full guide on putting patches on a backpack compares every method.
Which Patches Sew On Best?
Almost every patch type can be sewn. However, some sew more easily than others.
- Embroidered patches: the classic choice. A merrowed border gives a clear guide for your stitches.
- Woven patches: thin and flexible, so a needle passes through easily. They suit shirts and hats.
- PVC patches: many have a sewing channel molded around the edge. Stitch in that channel only.
- Patches with iron-on backing: you can still sew them. The glue makes them stiffer, so use a sharp needle.
If you're ordering patches for a team, club or brand, custom embroidered patches with a merrowed edge are the easiest to sew. For fine text and small logos, custom woven patches stay thin and flexible. Want to skip the needle? Read how to iron on a patch instead.
How to Sew a Patch Without Common Mistakes
Most sewing problems come from a few small habits. Fortunately, each one is easy to fix once you know what to look for.
| Mistake | What happens | Fix |
|---|---|---|
| Pulling stitches too tight | Fabric puckers around the patch | Keep thread snug, then smooth the fabric as you go |
| Stitches too far apart | Edges lift and catch on things | Space stitches about 1/8 inch apart |
| Sewing through both layers of a sleeve | The sleeve gets stitched shut | Slide a piece of cardboard inside first |
| Single thread on thick fabric | Thread snaps after a few washes | Double the thread or use heavy-duty thread |
| Skipping the pins | Patch drifts and ends up crooked | Pin all four sides, or baste with large stitches |
Also, press the garment flat before you start. A wrinkle trapped under the patch becomes a permanent bump once it's sewn down.
Finally, plan the layout before you sew anything. Lay all your patches on the garment and take a photo. Then live with it for a day. Moving a sewn patch means unpicking every stitch, and the holes may show. Ordering for uniforms or merch? Request a quote, and our team can suggest a size for each spot.
Frequently Asked Questions
How do I sew on a patch without a sewing machine?
Use a hand needle and doubled polyester thread. Pin the patch, start from inside the garment and work small running stitches or whipstitches around the edge. Then tie off inside.
How long does it take to hand sew a patch?
A 3-inch patch on a cotton shirt takes about 10 to 15 minutes. Thick fabrics, hats and large back patches take longer.
Should I sew on a patch that already has iron-on backing?
Yes, if you want it to last. Iron it on first to hold it flat, then sew around the edge. The adhesive makes the patch stiffer, so a sharp needle helps.
What color thread should I use to sew on a patch?
Match the thread to the patch border. That way, the stitches blend into the edge instead of standing out on the garment.